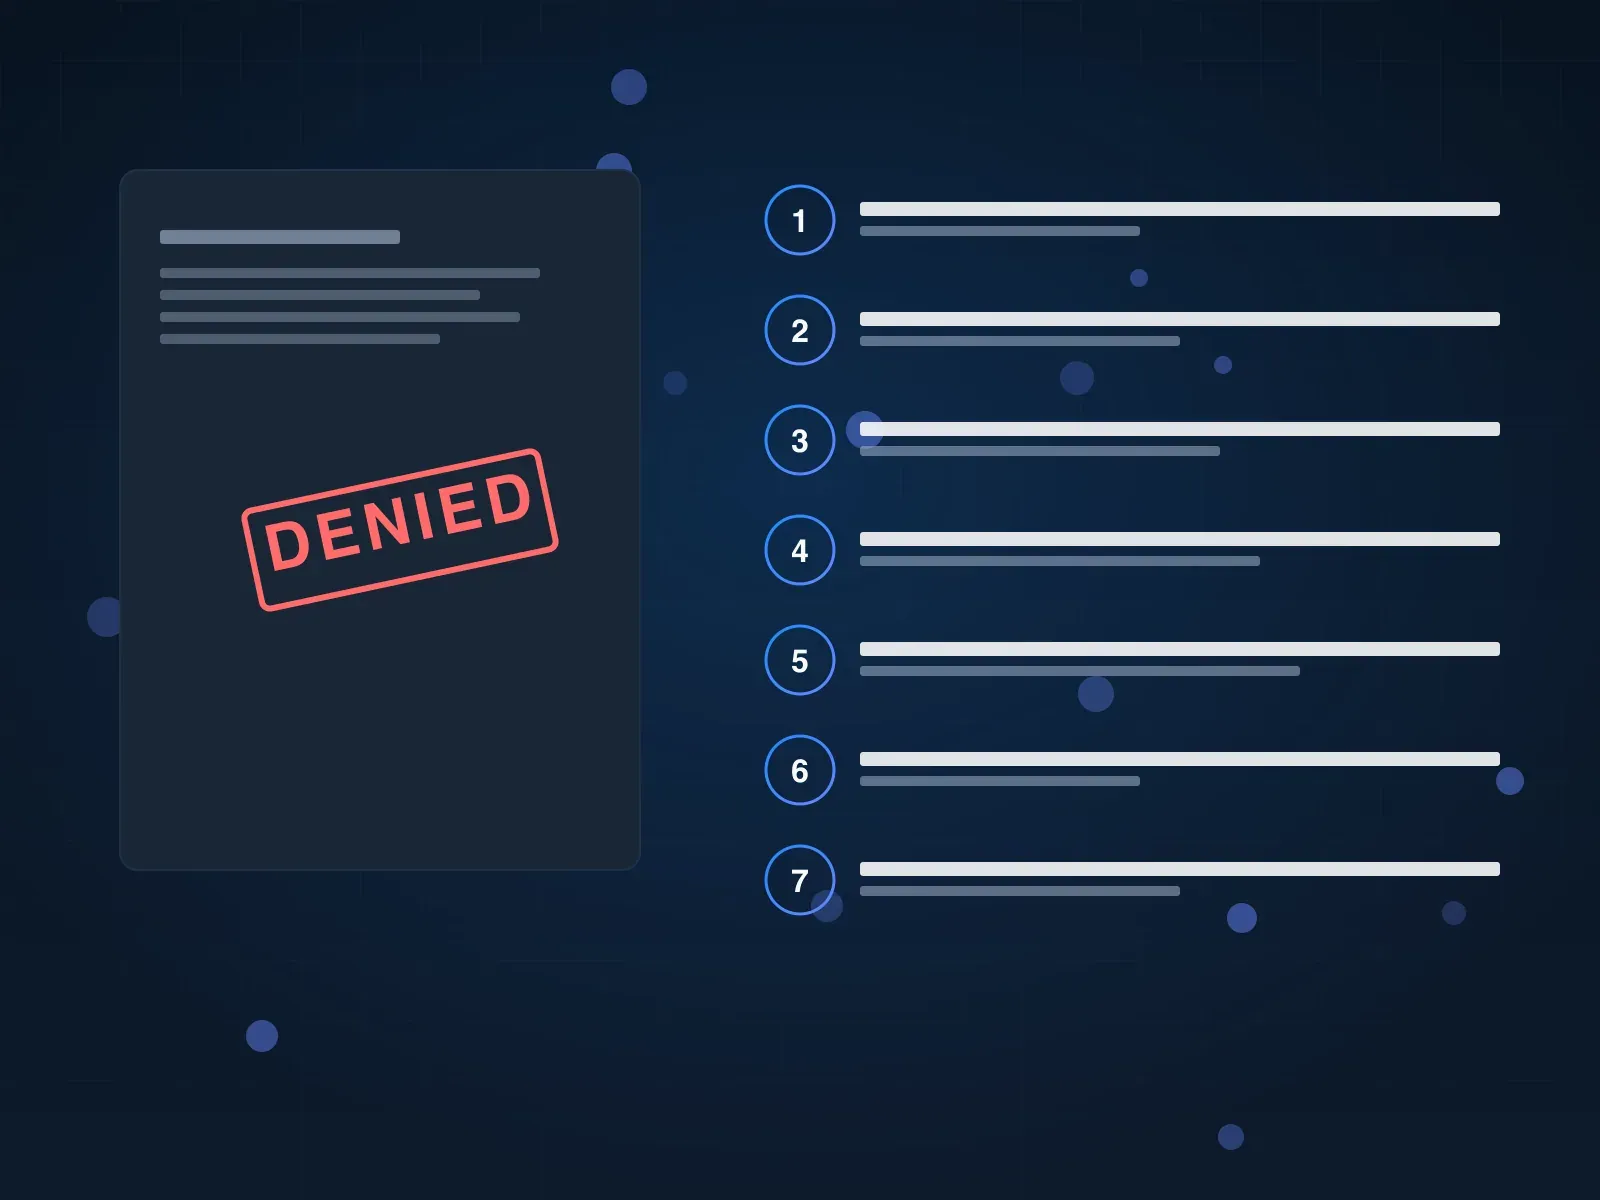
Most denied hail claims aren’t denied because the damage wasn’t real. They’re denied because the homeowner handed the adjuster three blurry photos and a roofer’s quote, and the adjuster spent 10 minutes on the roof. A hail damage roof inspection the adjuster can’t wave off looks different: wide-angle per slope, chalked 10x10 test squares on at least three of four slopes, soft-metal hits with a coin for scale, attic decking, an NOAA screenshot, and a clean folder so the adjuster’s job becomes “approve” instead of “investigate.” Here’s the 10-step checklist used by public adjusters and contractors who win supplements.
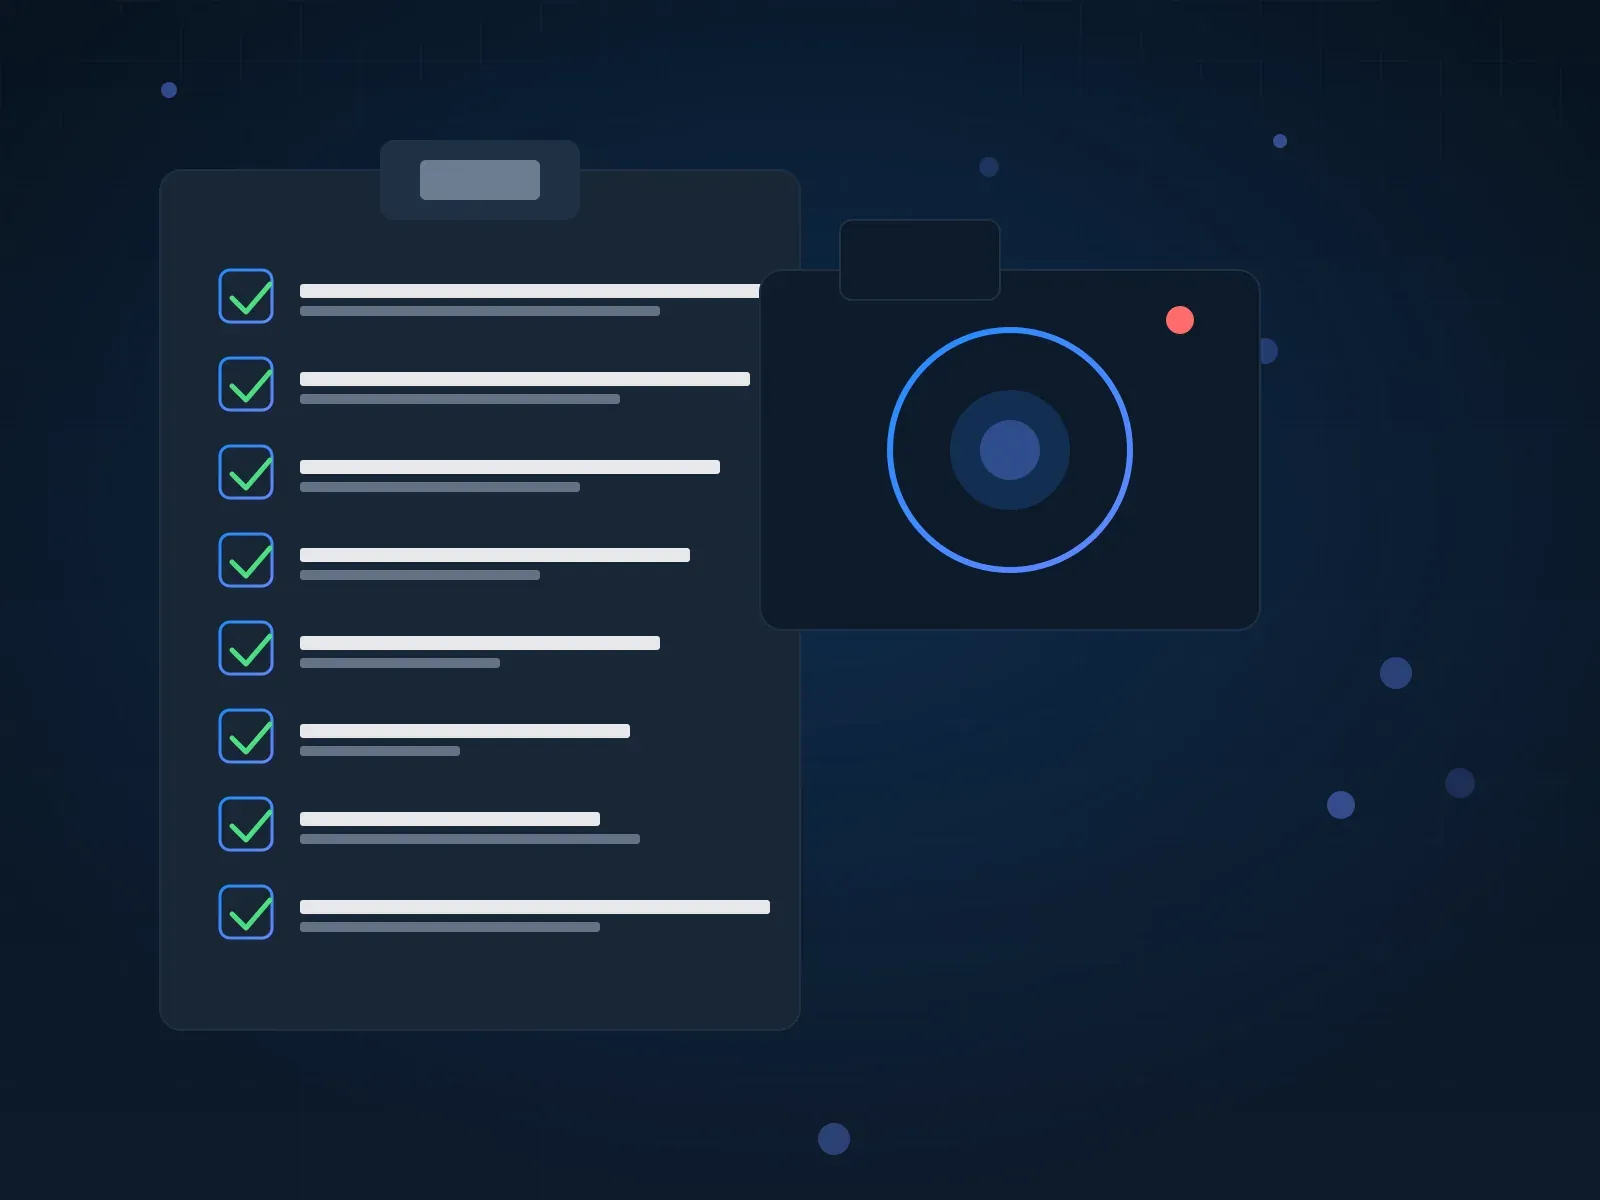
TL;DR (the 10-step checklist, in order)
- Pull a NOAA Storm Events screenshot for your zip and date.
- Walk the perimeter and shoot 4 wide ground-level photos, one per side.
- Shoot per-slope wide photos from a ladder or upstairs window.
- Chalk a 10x10 test square on at least 3 of 4 slopes with hits circled; photograph chalk line + hits in one frame.
- Close-ups of every hit with a coin or ruler for scale.
- Photograph all soft metals: vents, pipe boots, drip edge, flashing, gutters, downspouts, AC fins, screens, mailbox.
- Attic interior: daylight through decking, water staining, wet insulation.
- Interior ceiling stains, walls, soaked items.
- Receipt-stamp every temporary repair (tarp, board-up).
- Build the folder, file names with date-time-slope-subject, hand the adjuster a USB or shared link plus a printed cover index.
Every shot answers a specific denial template. The adjuster’s job becomes approving what you already documented.
Why documentation decides every hail claim
The carrier’s adjuster isn’t paid to find your damage. Per a contractor’s field video, adjusters target 10 inspections a day at ~$250 each, which means roughly 10 minutes on each roof. A thorough inspection takes 35 to 40 minutes. The fix isn’t to argue with the adjuster’s pace; it’s to do the 35 to 40 minutes yourself before they arrive. The folder you hand over turns the inspection into a confirmation walk instead of a discovery walk (Why Was This Roof Insurance Claim Denied… Then APPROVED?).
The dollar swing is real. An r/HomeInspections homeowner moved the carrier’s $37K offer up to $61K once his contractor wrote a complete Xactimate scope. A separate r/homeowners case moved from “a box of shingles” to $52K on a $1K deductible after a PA expanded scope. The lever in both cases was documentation.

Step 1: Pre-storm baseline (do this on a sunny day)
A clean date-stamped photo of your roof from the calendar quarter before the storm collapses any “wear and tear” or “pre-existing damage” argument. Once a year, capture 4 ground-level wide shots (one per side), 1 per-slope wide shot from a ladder, 1 attic interior shot looking up at the decking, plus maintenance receipts. Save in 00-pre-loss-baseline/. Re-shoot every spring.
Step 2: First-48-hours documentation
Hail damage is most visible immediately after the storm and degrades fast: granules wash off in the next rain, dimples weather in a month, memory fades in a week. Act within 48 hours.
At ground level. Note the storm time and date. Walk all four sides with a phone. Look for hail piles on the ground, dents in gutters from below, broken screens, dented mailbox, dented AC fins. Photograph each with a coin in frame. Look up at the eaves for missing shingles, granule streaks, exposed underlayment. Don’t climb the roof if you haven’t before; a licensed roofer is a free inspection.
Don’t fix anything yet. Carriers use post-loss repairs against you (“we can’t tell what was there”). Mitigate active leaks only (tarp, board-up), and keep the receipts.
Done looks like. 8 to 12 ground-level photos with EXIF timestamps, the storm time/date noted, and a roofer scheduled within 48 hours.
Step 3: NOAA hail-swath screenshot
The carrier runs their own weather check. If data conflicts, the higher-precision source wins, and that’s almost always NOAA.
How to pull NOAA data. Go to the NOAA NCEI Storm Events Database (free, no login). Filter by state, county, date, event type (Hail). Note timestamp, lat/long, and “Magnitude” (max hail size in inches). Full-page screenshot with URL, save as 06-noaa-weather/2026-04-12_NOAA-storm-events.png.
The 1-inch threshold. The most common denial is “hail in your area was less than 1 inch.” The number is industry shorthand, not physical (3/4-inch hail can void a GAF or Owens Corning warranty), but carriers lean on it. If NOAA shows 1 inch+, screenshot it. If 0.75 to 1 inch, pair with soft-metal photos so the dispute moves off “hail size” onto “actual roof condition.”
Backup sources. CoCoRaHS, Iowa Environmental Mesonet hail archive, local NWS storm-event summaries. A recorded local TV forecast from the day of the storm is also admissible.
Done looks like. A screenshot with your zip, date, hail size, and source URL.
Step 4: Wide-angle photos, per slope
These are orientation shots. The adjuster looks at them first to understand the property layout and the storm’s directional pattern.
Composition. One ground-level shot from each side (4 shots). One per-slope wide shot from a ladder or upstairs window, framed so the entire slope fits, ridge to eave, rake edge visible. Optional: a drone shot of the full footprint.
Storm direction matters. If the north and east slopes are hit harder than the south and west, the storm moved southwest to northeast, and the wide-angle shots prove it. That pattern is what makes the test-square hits read as a real hail event instead of random debris.
Done looks like. 4 ground-level wide shots + 4 per-slope wide shots in 01-wide-context/.
Step 5: 10x10 test squares on at least 3 of 4 slopes
This is the single most important step. The 10-foot-by-10-foot test square is the unit of measurement every carrier uses to decide repair vs replacement.

The protocol. Pick the slope with the most visible hits. Measure a 10x10 square with a tape and chalk stick; chalk the perimeter so the line is visible in the photo (without it, the adjuster won’t count the area). Walk the square and chalk-circle every real hail hit. Photograph from a step back, framing the chalk line plus at least 5 circled hits. Close-up each hit with a coin. Repeat on at least 2 more slopes (Allstate and Liberty Mutual want all 4).
Carrier hit-count thresholds (community-triangulated, not published): State Farm 4-5 hits; Allstate 10x10 on 3-4 slopes with soft metals; Travelers/Nationwide/USAA 6-8 hits, 2 of 4 slopes; Liberty Mutual/Farmers 8-10 hits, 3 of 4 slopes.
Real hit vs look-alike. A real hail hit has embedded granules and a soft half-moon depression you can feel with your finger. Nail pops, thermal blisters, and dropped-tool marks leave sharp-edged scrapes with no embedded granules. Chalk-circle only real hits; the adjuster will downgrade your whole claim if they spot a circled blister.
Done looks like. A photo of each chalked square with line and circled hits on at least 3 slopes, plus a 1-line note of hit count per square.
Step 6: Close-up shots with a coin for scale
Close-ups answer “what is this damage?” Wide-angle shots show extent; the close-up shows it’s a hail strike, not wear.
Composition. US quarter (24.26mm) or ruler next to the hit, lens at 6 to 12 inches, natural side-lighting (early morning or late afternoon shadows make hits pop). Capture embedded granule loss with half-moon depression, bald spots, mat exposure, and granule piles in the gutter.
Done looks like. 8 to 15 close-ups across tested slopes, every shot with scale reference.
Step 7: Soft metals (the corroborator)
Soft metals prove a hail event happened, even if the shingle debate goes against you. Items to photograph (top-down where upward-facing, side-on where on a vertical face):
- Vents and pipe boots: round depressions on the cap; dimples on the rubber collar.
- Step flashing and drip edge: dimples at every wall transition; dents on the L-flange along eaves and rakes.
- Gutters and downspouts: dimples on the inside curve and back face. Photograph the entire run.
- AC condenser fins, window screens, mailbox, garage door: even pea-sized hail bends AC fins; screens show punctures; painted panels show dimples.
Why this matters. When the shingle debate goes against you (Travelers, Liberty Mutual commonly approve soft metals but deny shingles), soft metals still prove the hail event. The dispute moves from “was there a storm” to “did the storm damage the shingles.”
Soft-metal exclusions. Some lower-tier policies exclude metal/cosmetic damage. Pull the declarations page and search for “metal,” “cosmetic,” and “exclusion.” The photos still corroborate even when excluded as line items. See the CLUE-report pre-filing guide for the exclusion check.
Done looks like. One wide + one close-up per soft-metal type in 04-soft-metals/.
Step 8: Granule loss documentation
Granule loss documents accelerated shingle aging after hail strikes. Three places to look: bald patches on shingles (granules missing, black mat exposed), a granule pile at the low end of the gutter (a handful per foot is normal weathering; a half-inch carpet is hail evidence), and the downspout splash zone. A close-up of mat exposure is one of the most persuasive photos in a hail folder; the carrier can’t call it cosmetic when the shingle is failing.
Done looks like. 3 to 5 granule-loss photos across slopes, gutter, and splash zone in 03-close-ups/.
Step 9: Interior and attic damage
The interior set is the easy miss that turns a partial-roof approval into a full-replacement supplement. Carriers approve the exterior and deny the interior because nobody photographed it.
Attic: daylight through decking; water staining on rafters or decking; wet or matted insulation; pooled water on the floor; mold spots on rafters.
Interior ceiling and walls: brown ring stains on drywall; bubbled paint near the ceiling line; damaged attic-stored items.
Personal property. If hail broke a window or soaked items, photograph them in place before moving or disposing. Personal property is a separate policy line that gets denied without a contemporaneous photo.
Done looks like. 4 to 8 photos in 05-interior-attic/. If no interior damage, shoot the attic anyway with a 1-line note that the interior was inspected. The note prevents a “you never told us” later if a leak develops.
Step 10: Build the folder and hand it to the adjuster
The folder is what turns documentation into approval. The adjuster who walks in with a pre-built evidence folder spends the inspection confirming, not investigating.

File naming. YYYY-MM-DD-HHMM_slope_subject.jpg (e.g., 2026-04-12-1438_north-slope_test-square-7-hits.jpg). Sortable by date, searchable by subject, slope in the name.
Folder structure.
2026-04-12_1234-Maple-St_hail-claim/
  00-pre-loss-baseline/
  01-wide-context/
  02-test-squares/
  03-close-ups/
  04-soft-metals/
  05-interior-attic/
  06-noaa-weather/
  07-receipts-correspondence/
Preserve EXIF. Timestamp, GPS, and camera model are what make photos credible. Don’t edit in apps that strip EXIF (Instagram, Snapchat, filter apps). Use AirDrop, USB, or desktop copy. Keep originals alongside any annotated versions.
How to hand it over. USB at the inspection meeting (adjuster reads it in the truck before writing the report), a Google Drive shared link in the supplemental letter (carriers won’t click 10MB attachments but will click links), plus a printed 4-page cover index: claim summary + NOAA summary + test-square counts + file index.
Mitigation receipts. Tarp, board-up, and water-extraction costs are owed separately from the roof repair. Save receipts and photos of the installed mitigation in 07-receipts-correspondence/.
Done looks like. Folder built, EXIF preserved, USB prepared, shared link ready, cover index printed.
Adjuster meeting prep
The 30 minutes before the adjuster arrives is the most important block of time in the entire claim.
Be on the property. Don’t let the adjuster inspect alone. Walk them to soft metals first (irrefutable), get an explicit “agree or disagree” on each item, then to the test squares. By the time you reach the shingles, the adjuster has conceded the storm was real; the only question left is the damage threshold.
Bring a roofer or PA on-site if you can. A licensed contractor or public adjuster on the roof makes the meeting a peer-to-peer technical conversation. If you can’t get one, the folder substitutes.
Take notes during the meeting. Date, time, adjuster name, badge, every item confirmed, every item disputed. Email a summary to the adjuster and carrier the same day. The contemporaneous email is what an attorney reads first if the supplemental fight gets serious.
Done looks like. Folder handed over, notes written, email summary sent same day, copy in 07-receipts-correspondence/.
What not to do
- Don’t climb the roof if you haven’t done it before. Falls put homeowners in the hospital every storm season. A licensed roofer inspects free.
- Don’t edit photos in social-media apps. Instagram, Snapchat, and most filter apps strip EXIF. Without metadata, the photo is “evidence-light.”
- Don’t chalk-circle non-hail damage. Nail pops, blisters, and dropped-tool scrapes tank your credibility on the whole claim.
- Don’t let the adjuster inspect alone. A solo inspection produces a 10-minute report and a denial.
- Don’t permanently repair before the adjuster arrives. Mitigate active leaks only; permanent repairs erase evidence.
- Don’t skip the NOAA screenshot. The first thing the carrier checks is the weather data; bring your own or they use theirs.
Key takeaways
- Document before the adjuster arrives. They average 10 minutes on the roof; you need 35 to 40.
- Pull a NOAA screenshot for your zip and date. The 1-inch hail size is the most common denial trigger.
- Chalk 10x10 test squares on at least 3 of 4 slopes. Hit counts: 4-5 State Farm, 6-8 Travelers/Nationwide/USAA, 8-10 Allstate/Liberty/Farmers.
- Soft metals (vents, gutters, AC fins, screens) corroborate the storm. Photograph every one.
- Granule loss in the gutter and splash zone is hail-event evidence carriers can’t argue with.
- Build the folder with date-time-slope-subject file names, preserve EXIF, hand over USB + shared link + printed cover index.
- Walk the adjuster to soft metals first, get explicit agree/disagree, then the test squares.
FAQ
What is on a hail damage roof inspection checklist?
A complete checklist has 10 steps: NOAA screenshot, ground-level wide shots from each side, per-slope wide shots from a ladder, chalked 10x10 test squares on at least 3 of 4 slopes, close-ups with a coin for scale, soft metals (vents, gutters, downspouts, AC fins, screens), granule loss, attic and interior damage, temporary repair receipts, and a date-time-slope-subject folder ready for the adjuster.
How do I document hail damage for insurance?
Walk all four sides with a phone and photograph each soft-metal item (vents, gutters, downspouts, AC fins, screens) with a coin for scale. Chalk a 10x10 square on at least 3 of 4 slopes with hits circled. Pull the NOAA screenshot. Hand the adjuster a USB stick or shared link plus a printed cover index at the inspection meeting.
How do I take pictures of hail damage on a roof?
Use your phone, with a coin or ruler in the frame, in natural side-lighting (early morning or late afternoon shadows make hits pop). Wide-angle per-slope shots first for orientation, then close-ups of each hit at 6 to 12 inches. Preserve EXIF; don’t edit in apps that strip it. Aim for 30 to 60 photos, organized by slope and subject.
What does a hail damage test square look like?
A test square is a 10-foot-by-10-foot area chalked off on a roof slope, with every hail hit inside the square circled. The standard photo shows the chalk perimeter and at least 5 of the circled hits in one frame. The hit count is what the adjuster compares against the carrier’s threshold (4 to 5 State Farm, 8 to 10 Allstate, 6 to 8 Travelers and Nationwide). Single-slope is insufficient.
How do I pull NOAA hail swath data for my address?
Go to NOAA’s National Centers for Environmental Information Storm Events Database (free). Filter by state, county, date, and event type “Hail.” Note the timestamp, lat/long, and “Magnitude” (max hail size in inches). Take a full-page screenshot with the URL and save in your folder. Backup sources: CoCoRaHS, Iowa Environmental Mesonet hail archive, local NWS storm-event summaries.
What is soft metal hail damage?
Soft metal hail damage is denting on thin metal items: vents, pipe boots, drip edge, step flashing, gutters, downspouts, AC fins, window screens, mailbox, garage door panels. Soft metals are the easiest hail evidence to capture; the dents are irrefutable. Some lower-tier policies exclude soft-metal coverage as cosmetic; the photos still corroborate the shingle claim.
What does granule loss from hail look like?
Granule loss appears as bald patches on shingles where the granule layer has been knocked off, exposing the black asphalt mat. In the gutter, it’s a half-inch or thicker carpet of granules at the low end. Normal weathering is slight and continuous; a hail event creates concentrated patches and sudden gutter accumulation, visible the day after the storm.
How do I document hail damage on a metal roof?
Documented the same way as shingles, with extra attention to panel surfaces and seams. Photograph each panel face from a step back to capture the dent pattern, then close up at every dent with a coin. Note paint chips and gouges; photograph ridge cap, drip edge, and flashing. Metal roofs often have cosmetic-damage exclusions; check the declarations page. Corroborating soft-metal evidence still forces the carrier to acknowledge the storm.
Should I climb on the roof to take photos?
No, unless you’ve done it before with proper safety equipment (harness, ladder stabilizer, spotter). Most ground-level evidence (soft metals, gutter granules, lower-eave dents, AC fins, screens) proves the hail event. For per-slope shots and test squares, a licensed roofer’s free inspection is the better path; they bring the photos back and you organize them.
Do I need a roofer to inspect before I file the claim?
Not strictly, but it’s the recommended sequence. Most roofers inspect free and write a one-page summary the same day. The roofer’s photos go in your evidence folder, and their Xactimate estimate becomes the counter-bid if the carrier underpays. Get the inspection scheduled within 48 hours of the storm.
What happens if I cannot find evidence of damage?
If you can’t find any visible hail damage at ground level, on soft metals, in gutter granules, or in the attic, the claim may not be strong enough to file. A weak claim risks a denial that still hits your CLUE report and may trigger non-renewal. See the CLUE-report pre-filing guide for the file-or-fold decision tree.
Related reading
- hail damage insurance claim denial playbook (master hub)
- hail under 1 inch denial dispute (identification companion)
- Allstate denied my roof claim
- State Farm roof claim denial guide
- invoke the appraisal clause
- public adjuster vs attorney
- Xactimate estimate gap audit
- CLUE report before you file a hail claim
Ready to build the folder? Generate a labeled evidence folder template with the seven subfolders pre-named and a printable cover-index PDF you can fill in for your claim. 1 minute.